People often ask me how long it takes to make a stained glass piece, and what goes into it.
The process is virtually the same whether I’m making a small suncatcher or a 3 foot window panel, but the time / labor it takes can vary greatly. The simplest 5-piece suncatcher will take about 1 – 1 ½ hours from start to finish, while a complex design of several hundred pieces can take weeks. Here is why--
The 10 steps required:
1. Design a viable pattern for the piece
A “viable” pattern in stained glass speak means one that is both stable (won’t easily crack), and one that contains pieces shaped in ways that can be hand cut and shaped (since I don’t use a fancy saw that can cut out intricate shapes). Stained glass wants to break in straight lines, so pieces with deep inside curves are extremely difficult to pull off, and if you do, are much more likely to crack down the road.
2. Determine the types and colors of glass to be used
The colors and types of glass incorporated into a piece really give it its life and feeling. The same design made using different glass will look totally different. I first determine what type of look I’m going for, and then lay out different glass combinations until I’m satisfied. With so many different shades of glass, plus the fact that many glasses look very different with and without light behind them, it can be a challenge to find glasses that complement each other in all types of lighting.
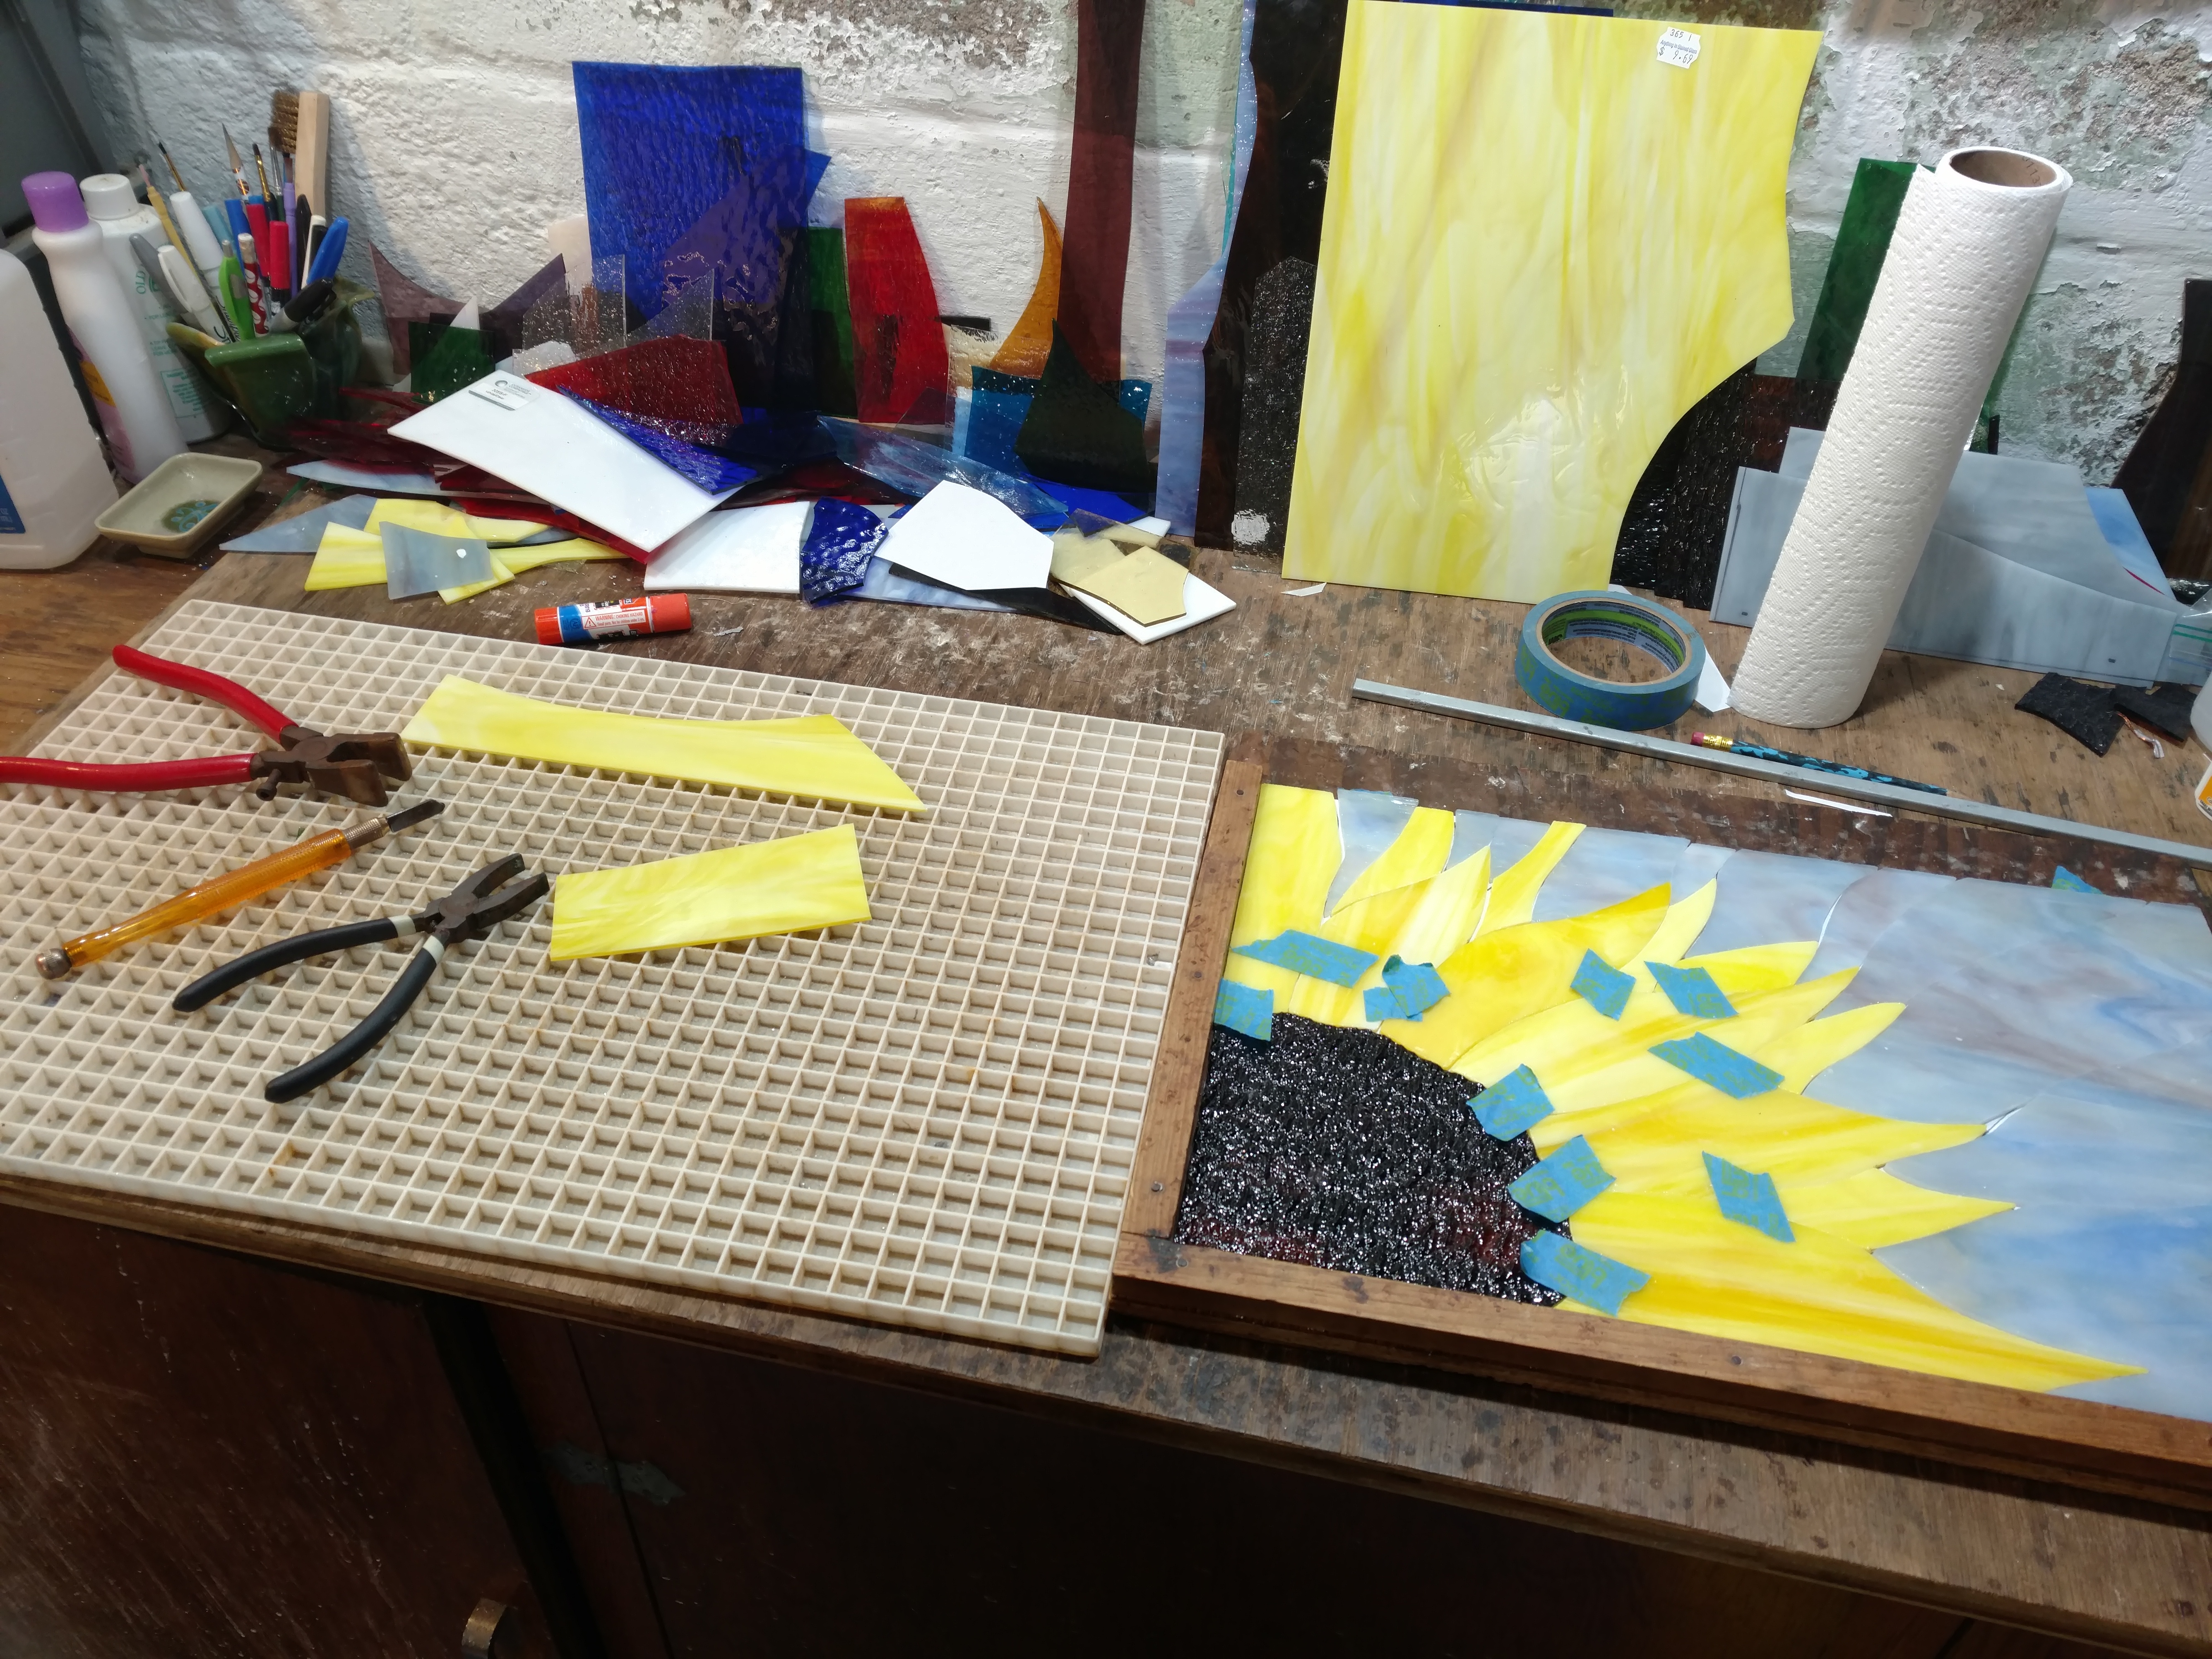
3. Color Code and Cut out the pieces of the design to use them as templates
A stained glass pattern / design is basically a coloring book style outline. I mark each section of the design with the type of glass it will be, and then cut them out and paste them onto the glass to serve as a template to cut around.
4. Cut and grind each piece of glass
I use a hand held glass cutter to make several scores around the template on the glass, and then break away the pieces until it is as close as possible to the template shape. I then use a glass grinder to smooth the edges and finish shaping to the precise shape and size it needs to be to fit into the design.
5. Wrap each piece of glass in copper foil tape, and burnish the edges thoroughly
After all the pieces of the design have been cut and shaped and fit perfectly together, I then thoroughly clean each one with rubbing alcohol and wrap them in copper foil tape. The edges and both sides of the tape need to be burnished very well to ensure it sticks securely.
This step is the most important in the process to ensure the stained glass piece is solid and lasts over time. The solder is applied to the copper foil to hold the piece together. But if the copper foil doesn’t have a good bond to the glass, it will come apart even after being soldered.
6. Flux and solder the pieces together on both the front and back of the piece
After foiling all pieces, I put them back together and ensure that everything fits snugly. I then brush flux along all of the copper foiled lines and solder along each line using a soldering iron and 60/40 solder. This has to be done on the front and back of the piece.
7. If framing it, measure and cut each side of the zinc framing with a saw, and solder it in place.
Smaller suncatchers are generally not framed, with the soldered copper foiled edges serving as the edge finish. But larger pieces need to be framed to give them more stability so they won’t easily fall apart when handled. The weight of larger pieces can cause them to bow and crack if they are not stabilized with a frame. I use zinc channel framing on rectangular panels, and lead came on round ones.
8. Solder on hanging rings.
After a piece is soldered (and framed if necessary), I then figure out the best placement of hanging rings and solder them in place. The size and shape of the piece will determine if one or two rings is necessary to allow it to hang straight and be properly supported.
9. Thoroughly clean the piece with soap and water.
When all the soldering is complete, I thoroughly wash the piece in soapy water to remove all of the flux and solder bits, and then dry it with a soft towel.
10. Apply wax to protect the finish and slow down tarnishing
The last step is to apply wax and buff it off. This is done to both sides, and serves to both clean it and provide a protective coating to slow down the tarnishing of the solder and frame. After trying several different stained glass polishes and waxes, I have found that CAR wax works best—in particular, Meguiars NXT Tech Wax.
So hopefully knowing what goes into making a stained glass piece will help you understand why a simple owl suncatcher of a few pieces might cost $45, while an intricate owl showing every feather might cost $400 or more!